


Java FullStack Spring boot & React app : Backend REST API / 2 - Spring Data REST in action


Hello, In previous tutorial we've set up the Easytrans project. In this one, we'll go deep in the REST api.
We will learn how to :
Create entity
Create repository and expose it as REST endpoints without using any other controller component
Create queries
- Custom query url
- Custom REST API base path
Entity & repository creation
Create a package named : model, and create a class: Route.java such as shown below:
package com.codeurinfo.easytransapi.model;

import java.util.Objects;
import javax.persistence.Column;
import javax.persistence.Entity;
import javax.persistence.GeneratedValue;
import javax.persistence.GenerationType;
import javax.persistence.Id;
import javax.persistence.Table;

@Entity
@Table(name = "routes")
public class Route {

  @Id
  @GeneratedValue(strategy = GenerationType.AUTO)
  private Long id;

  @Column(unique = true)
  private String name;

  private String start;
  private String terminus;

public Route() {}

  public Route(String name, String start, String terminus) {
    this.name = name;
    this.start = start;
    this.terminus = terminus;
  }

/**
Getters and Setters
*/

}
A simple class like that.
@Entity annotation is to tell database that this class is going to be an entity whereas @Table is used to give the custom name for the corresponding table in the DB. You can visit this blog for more information about these two annotations. We add a constraint @Column(unique = true) to avoid name duplication.
Next, we're going to create the repository, so create a package named: repository in which you create a class: RouteRepository.java:
package com.codeurinfo.easytransapi.repository;

import com.codeurinfo.easytransapi.model.Route;
import java.util.Optional;
import org.springframework.data.jpa.repository.JpaRepository;
import org.springframework.data.repository.query.Param;
import org.springframework.data.rest.core.annotation.RepositoryRestResource;

@RepositoryRestResource
public interface RouteRepository extends JpaRepository<Route, Long> {
  Optional<Route> findRoutesByName(@Param("name") String name);
}
- We use @RepositoryRestResource instead of @Repository because it directly exposes the repository interface as a REST endpoint, so there would be no need for another REST controller like in our case.
Now, our backend REST API is ready! Let's test it using Postman.
Run the main class (EasytransApiApplication.java in our case)
Got to Postman and make a http GET request against this url : localhost:9000/routes
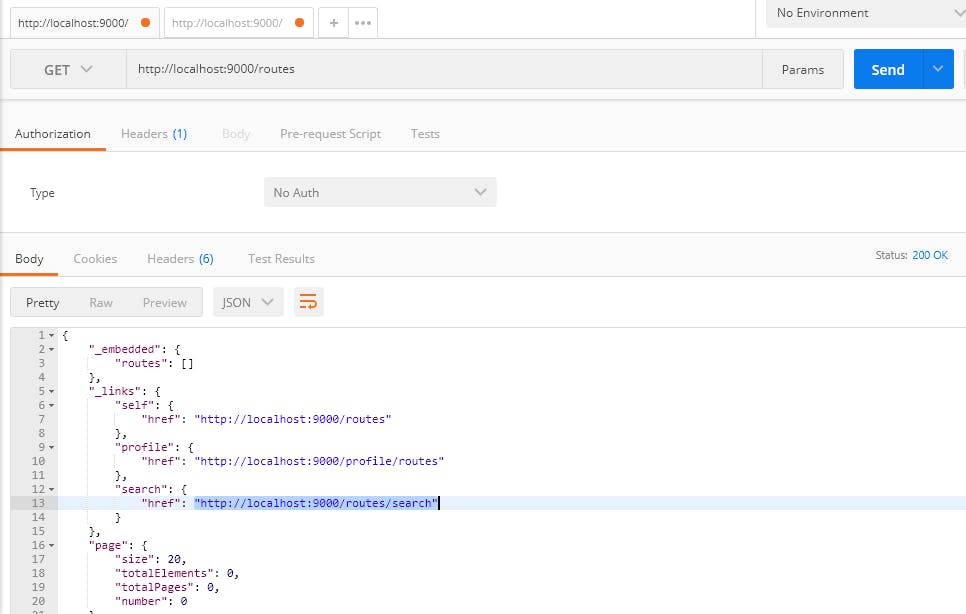
As result, you'll notice that routes array is empty, that's right because we have no records persisted; also Spring Data Rest generated useful links through "_links" object. We'll later make use of "localhost:9000/routes/search" for different seach queries
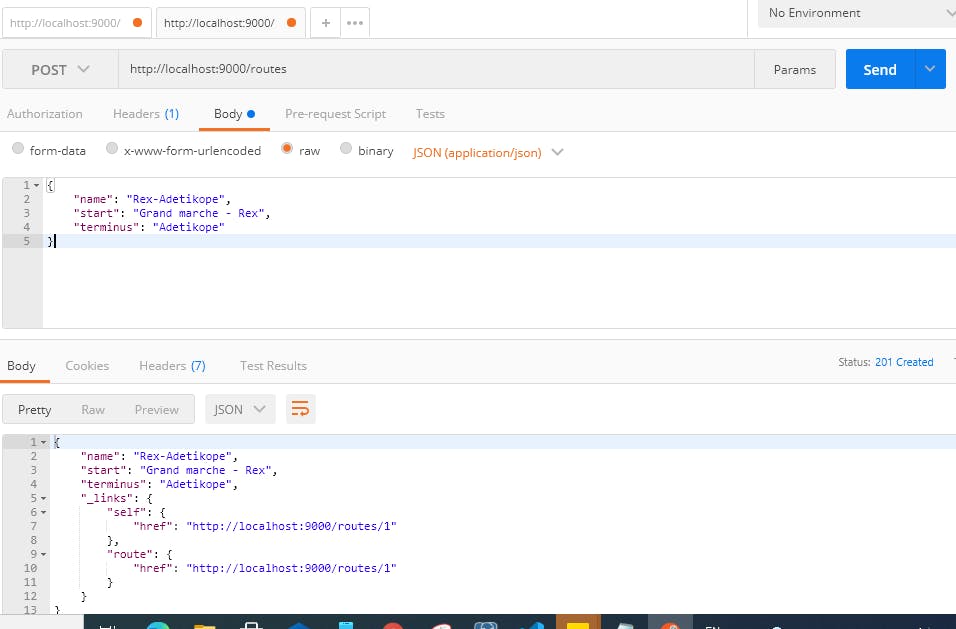
3 . In the Postman again, let's make Http POST request against this url: localhost:9000/routes In Body tab, select raw and JSON, then past the body below:
{
    "name": "Rex-Adetikope",
    "start": "Grand marche - Rex",
    "terminus": "Adetikope"
}
Clic Send to persist the data.
4 . Let's try our previous GET request against : localhost:9000/routes Now the routes array contains the persited data.

5 . Now that our REST API allows us to list routes and to persist some route objects, let's make search queries.
- Find a specific route providing its name in the GET request :
http://localhost:9000/routes/search/findRoutesByName?name=Rex-Adetikope - Notice, after the search url provided by Spring Data Rest, we add the query method signature (findRoutesByName) followed by the attribute specified in the @Param, which here is name.

Search url customization
Instead of using findRoutesByName in the search url, let's use a shorter name: routesByName .
To do so, go to the repository interface and add the annotation @RestResource(path = "routesByName"), our interface must look like this:
package com.codeurinfo.easytransapi.repository;

import com.codeurinfo.easytransapi.model.Route;
import java.util.Optional;
import org.springframework.data.jpa.repository.JpaRepository;
import org.springframework.data.repository.query.Param;
import org.springframework.data.rest.core.annotation.RepositoryRestResource;
import org.springframework.data.rest.core.annotation.RestResource;

@RepositoryRestResource
public interface RouteRepository extends JpaRepository<Route, Long> {
  @RestResource(path = "routesByName")
  Optional<Route> findRoutesByName(@Param("name") String name);
}
Save and make a GET request against this url:
http://localhost:9000/routes/search/routesByName?name=Rex-Adetikope
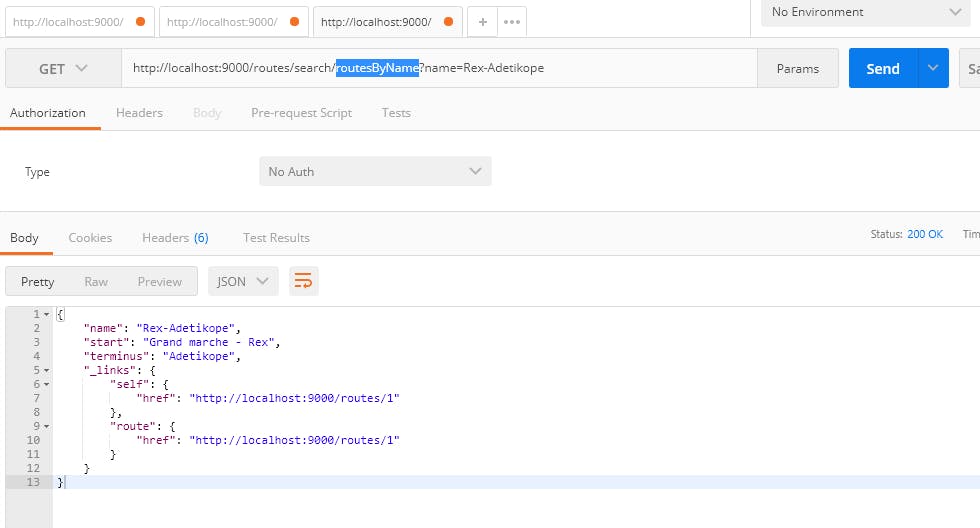 As you can see we have the expected result using routesByName instead of findRoutesByName.
Setting up a base path
In real project, most REST API root path begin with domain/api/path-to-resources, but as you can see, we directely call path-to-resources after the domain name.
To add the /api before any path-to-resource, open the application.yml file and add a spring base-path key and it's value like this:
spring:
  data:
    rest:
      base-path: /api
Save the yml file, try one of the pervious GET request, you we'll notice a 404 resource not found error.
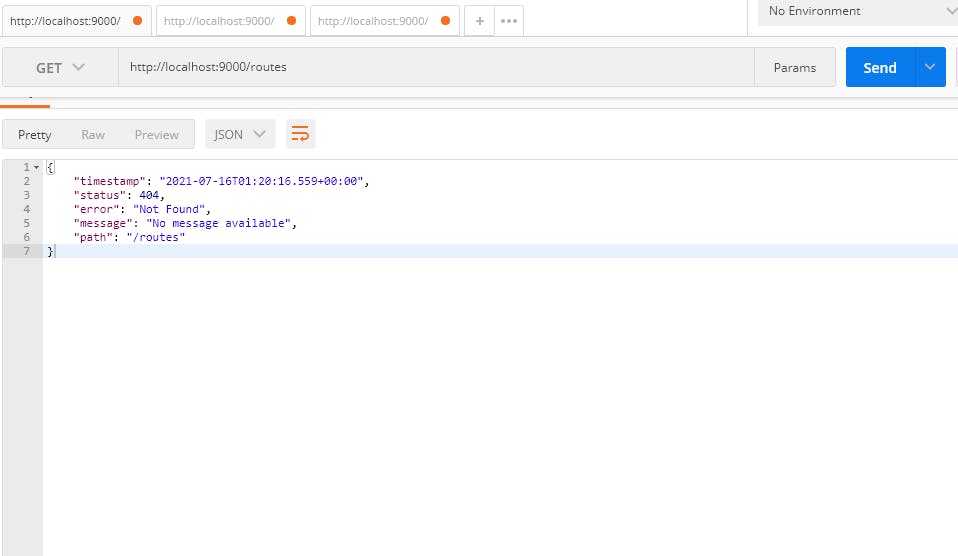
This because from now, our REST API will be consumed using a base path /api/ before any other resource-path. So: localhost:9000/routes -> localhost:9000/api/routes etc.
Here is ! Congratulations you have built a basic Java Spring Boot REST API, hope you have learned something new. If so, don't forget to hit the Like button and subscribe to this blog to be notified of new posts.
In the next article, we will add new features to our EasyTrans app. Thank you for being part of this fullStack Java & React developer journey!